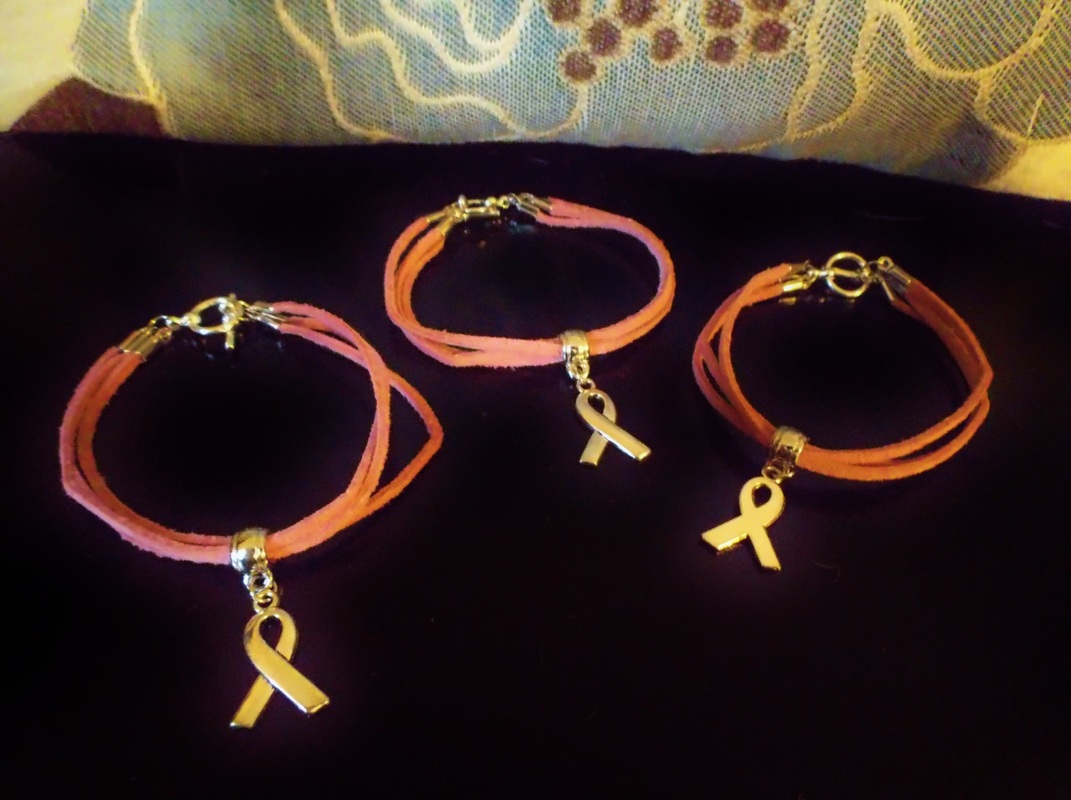
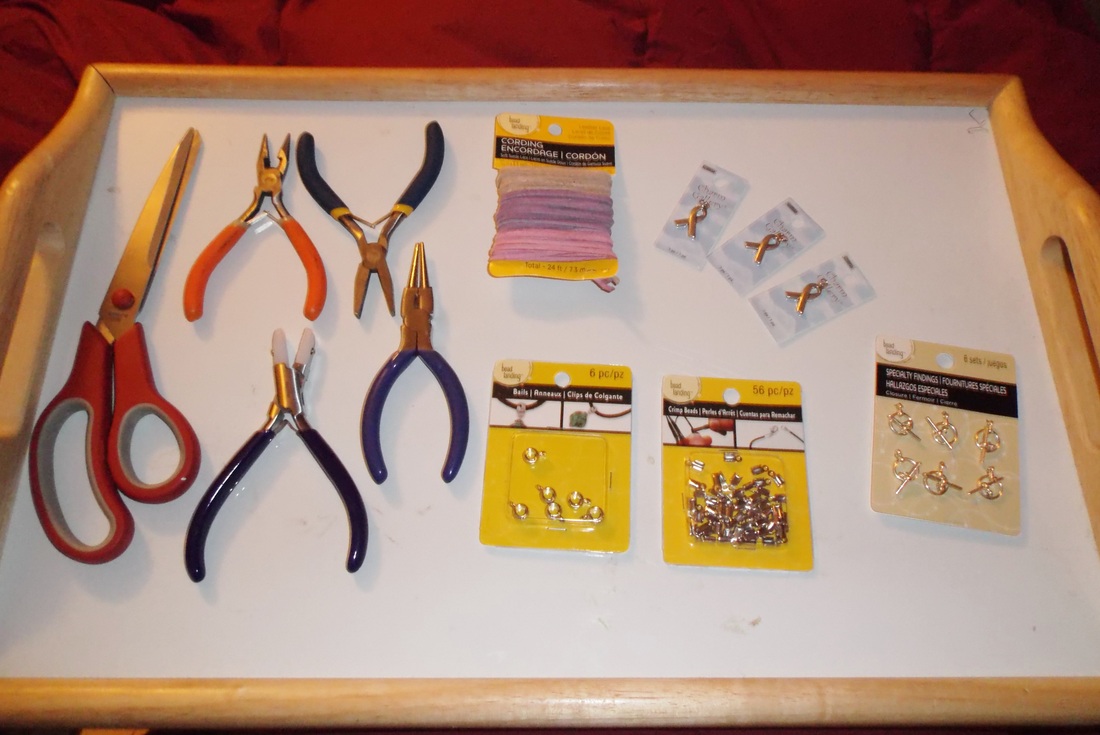
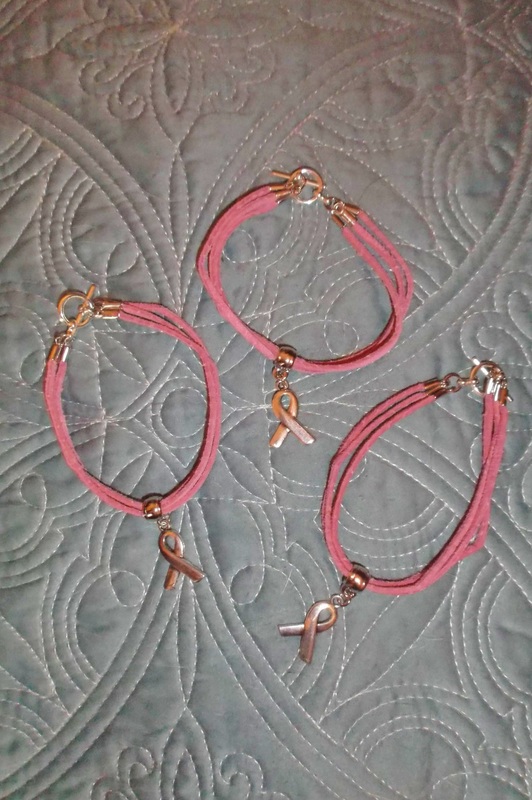
| If you’ve been following my blog for the past few weeks, you’ve read about “The Pink Box Project” and a few of the projects I included in it. If you’re new to my blog, a few weeks ago I sent my Mom a box full of pink goodies. I went with pink because she was recently diagnosed with breast cancer and she is fighting it like a champ! Check out the rest of the box in my Pink Box Project post here. One of the projects I included was not a project I came up with or made, but I did offer a helping hand in. The credit for this one goes to my hubby. He thought of these bracelets for my Mom, my sister, and I while we were walking around the craft store looking for something else. Supplies: ~ leather chord – he used pink ~ ribbon charm ~ 6 ‘crimp with loop’ closures/ beads ~ 1 bail ~ 2 small rings ~ clasp Tools: ~ scissors ~ needle nose pliers or jewelry pliers with round tips ~ flat pliers ~ flat nylon tipped pliers (optional) Before you get started on bracelet construction, you’ll want to measure your wrist and decide what size you’d like your bracelet to be. If you’re not sure about measuring your wrist, you can also do what I did… I gave my hubby a bracelet I already had, that I liked how it fit, and asked him to base his bracelet off of that. Being an engineer, of course, he pulled out his ruler and determined he needed 3, 7 inch pieces of chord per bracelet. Now working one bracelet at a time… He took the 3 pieces of chord and set to work attaching the ‘crimp with loop’ beads. Each crimp bead looks like a small box without a lid, lay the leather chord inside the “box” portion of the crimp bead with the end of the chord at or below the base of the loop, be sure not to cover the loop. Use your pliers to press each side of the crimp bead down over the chord, securing it in place. Once each side has been folded over, it never hurts to give the whole thing a good squeeze. Straighten out your chord and do the same for the other end. There should be one crimp bead at each end of your chord. Do the same for the other two pieces of chord. Crafty Tip: Use your pliers to lightly squeeze the sides of the crimp bead in, it helps hold the leather in place while you press them all the way down. Next use pliers to open one of the small rings and slide one end of your clasp and one end of each of the 3 pieces of chord on. Then, close the ring with your pliers. Crafty Tip: To avoid any aggravation during this step, try holding the ring firmly in one pair of pliers and using another pair to open it. Then with the ring still in the first set of pliers, slide on your pieces, and use the second pair to re-close the ring; this way the ring is sure not to go anywhere. After the one end is secured together, slide on your charm. Note: Some charms or beads may not need a bail, they may already have a large enough right or opening. If it does, use your pliers to open attach the charm to the bail appropriately. This part is a little open ended because there are so many different bails out there and many of them hold charms differently. Once the charm is on, use the other small ring and your pliers to join the open ends of the 3 chord pieces and attach the other part of the clasp, just like before. Now, enjoy wearing your new bracelet! One great thing about this project is that it can be adapted for any style or occasion. I’m thinking a nautical theme for the next one. What colors or theme would you have for your bracelet? 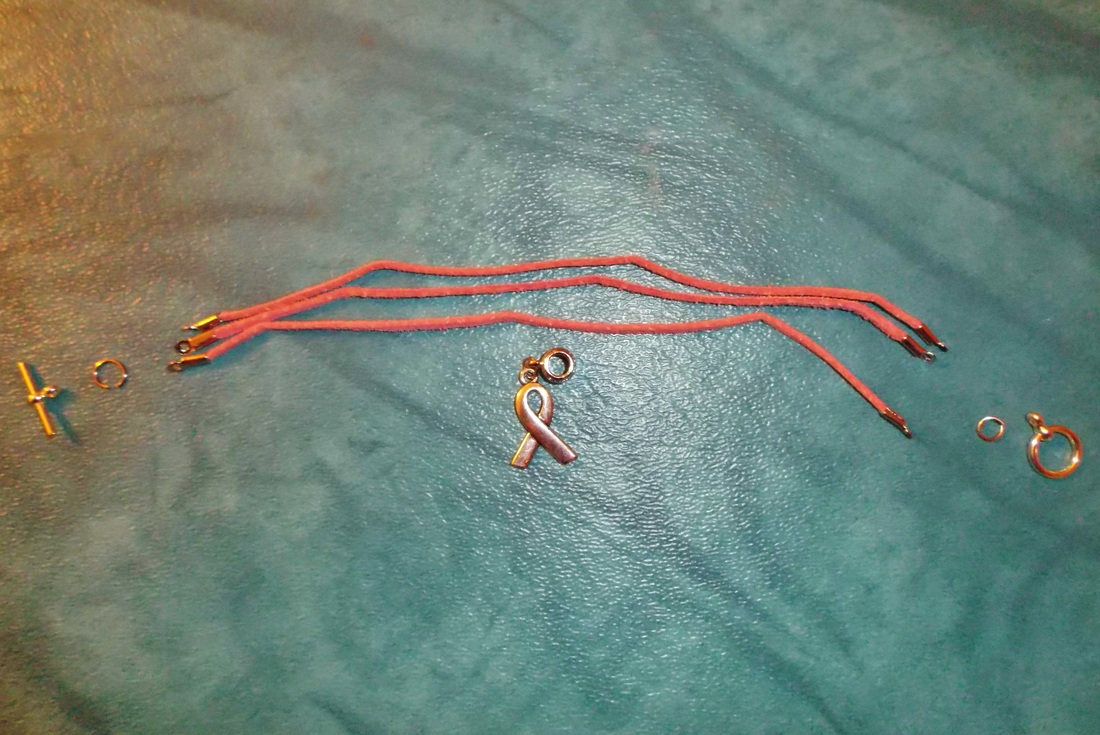
| 


|
|
0 Comments
Leave a Reply. |
AuthorTo put it mildly, I LOVE crafting! The only problem is that I don't fancy just one specific type of craft, I love it all. With this in mind, I've decided to keep a running chronicle of projects and, hopefully, inspire someone else along the way. Categories
All
Archives
May 2016
Note:The information provided in this blog are my opinion and is not guaranteed. Results may vary. If you have any questions, please feel free to reach out to me via my "Contact" page. I am not affiliated with any of the companies or products I may write about.
|
 RSS Feed
