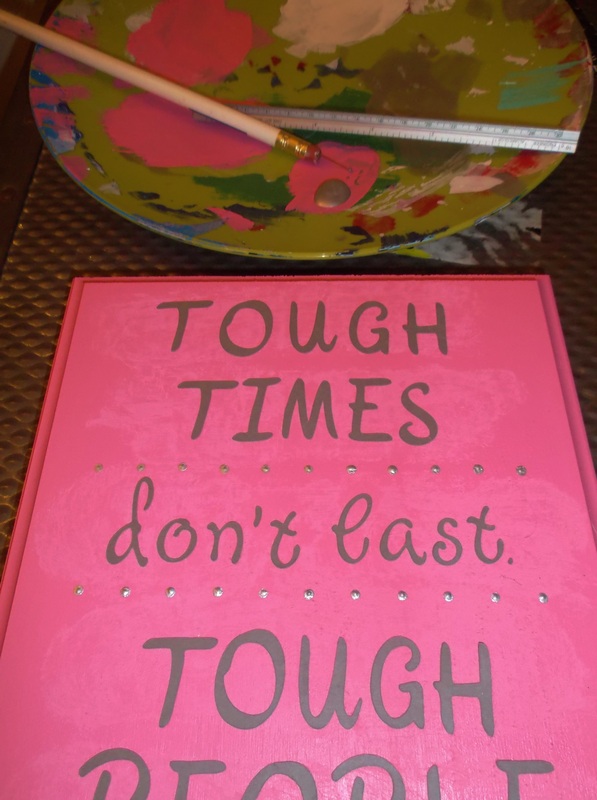
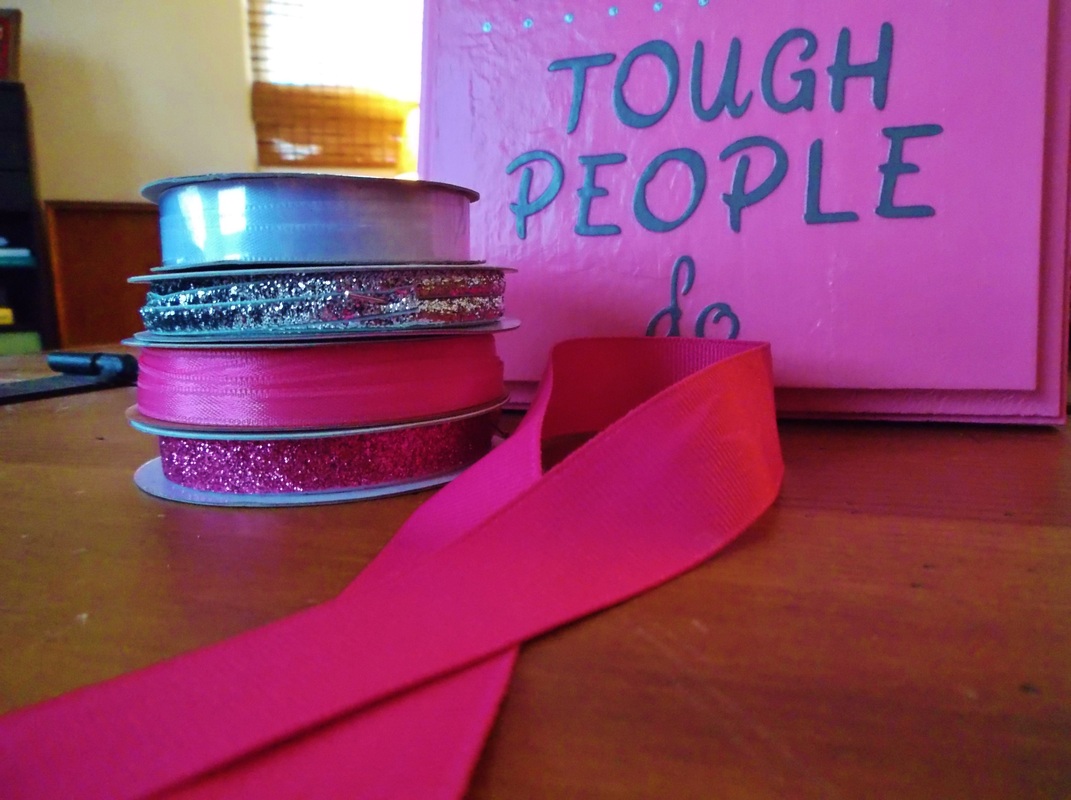
| A few weeks ago, I decided to surprise my Mom with a box full of pink goodies. I went with pink because she was recently diagnosed with breast cancer and she is fighting it like a champ! I had a blast finding goodies but I also wanted to make a few things. Check out the rest of the box in my Pink Box Project post here. One of the projects I included was a wooden board with an inspiration quote on it. I cannot take all the credit for this project. I found something very similar at a store, it was even pink, and it was perfect; or at least the idea was perfect. All of the ones the store had were beat up and scratched and dinged… so I did what I always do and decided to make my own. Quote: “Tough Times Don’t Last. Tough People Do.” Supplies: ~ wooden board ~ paint – I used pink and silver ~ cardstock paper – I used gray ~ craft glue ~ Mod Podge ~ ribbon ~ staple gun & staples ~ Optional: Cricut & Cricut cartridges: “Suburbia” & “Lyrical Letters” First things first… paint! I gave the wooden board several coats of pink paint with plenty of drying time between coats. Crafty Tip: If you do a lot of painting, consider keeping “paint plates” around. I have four plastic picnic plates that I keep around for this purpose. They are easy to clean, keep the paint contained, and don’t get soggy when wet. Once it was completely dry, I pulled out my Cricut and began playing with the letter sizes and fonts. I chose a darker gray cardstock because I love the pink and gray color combination. After a lot of debating, I finally decided on using my “Suburbia” cartridge font for the block style letters and my “Lyrical Letters” cartridge font for the script style letters. Since my board was approximately 10 inches by 6 inches, I decided to cut out and use approximately 1 ½ inch letters. Once the letters were cut out, I used a glue stick to glue them in place but looking back, I would have rather used liquid craft glue. If you plan to seal your board with Mod Podge like I did, you can always use that to stick your letters down. The reason I was not thrilled with the glue stick is because it did not dry entirely clear and can still be seen from the right angle. (And I’m a bit of a perfectionist.) After the glue had dried and the letters were fully adhered, I used my silver paint to add some line breaks in the form of two rows of dots. Crafty Tip: For small detailed tasks like this, stick a pin in the eraser of a pencil. Holding the pencil with the eraser/ pin end down, dip the pin head in your paint and add detail to anything. I let everything dry for a little while then coated the whole board in Mod Podge to ensure that the letters would not fall off. I gave my project two liberal coats to avoid streaks and again, gave it plenty of time to dry. Once the Mod Podge was dry, I cut several pink and silver ribbon strips, approximately 10 inches long, and used my staple gun to attach them to the back of the wooden board. For a little extra fun, and to keep my ribbon strands together, I tied a bow at the midpoint of my ribbon. Hubby’s Tech Tip: When choosing a staple gun or staples, know your wood: if you are using a soft wood like pine (typically purchased from your local craft store) you can get away with using a light duty craft staple gun with thin staples that don’t have points on the end. If you are planning on using a harder wood such as cherry, oak, or maple you might want to consider a heavy duty staple gun and carpenters staples. Hubby’s Tech Tip: For a stronger ribbon attachment, try laying the ribbon down and placing two or three staples in the ribbon then folding it back over the staples and applying another staple. This attachment method will cause the ribbon to bind on itself making it stronger. This is the preferred method of attachment for a heavier piece of wood. Now that you have the “How To,” what inspirational quote will you put on your board? 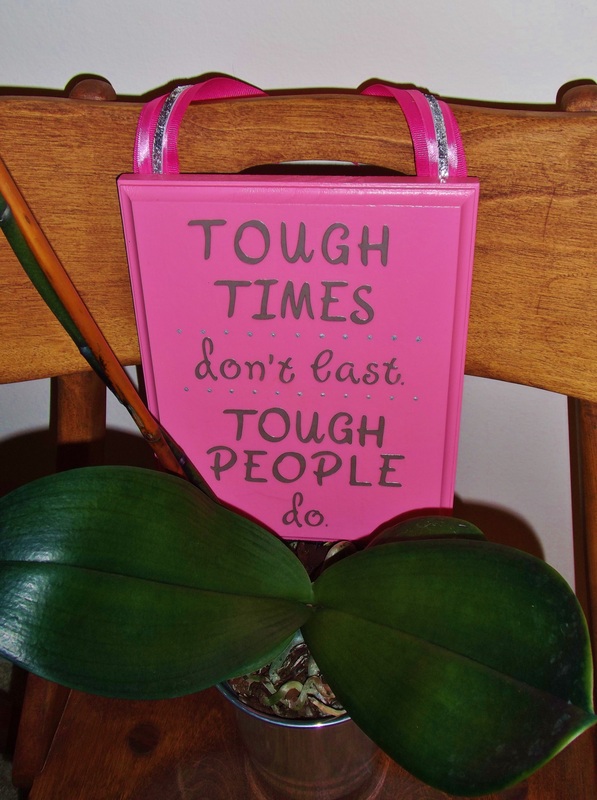 | 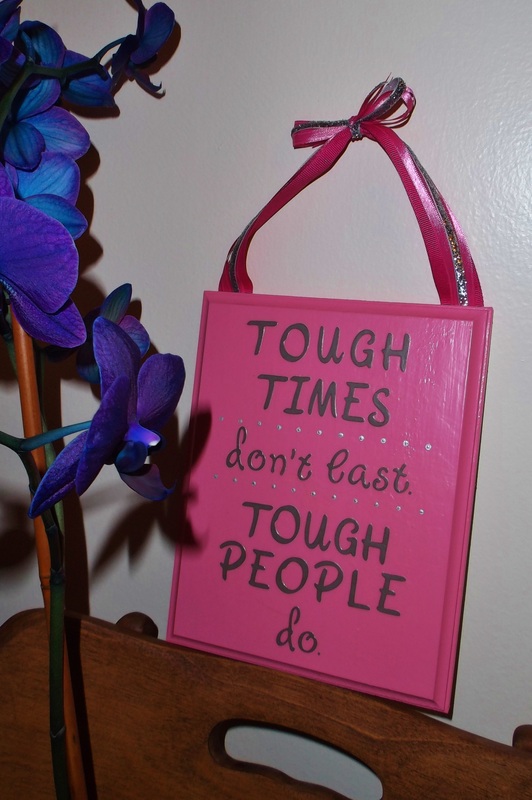 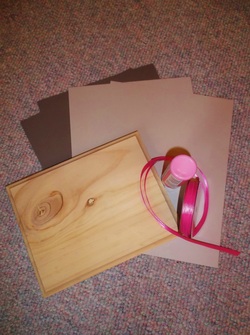 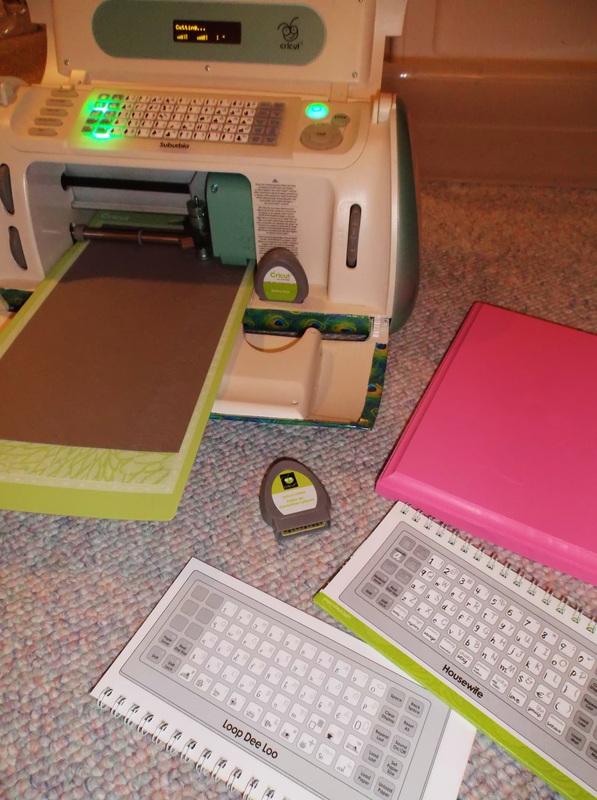  Check out my |
|
0 Comments
|
AuthorTo put it mildly, I LOVE crafting! The only problem is that I don't fancy just one specific type of craft, I love it all. With this in mind, I've decided to keep a running chronicle of projects and, hopefully, inspire someone else along the way. Categories
All
Archives
May 2016
Note:The information provided in this blog are my opinion and is not guaranteed. Results may vary. If you have any questions, please feel free to reach out to me via my "Contact" page. I am not affiliated with any of the companies or products I may write about.
|
 RSS Feed
